If you work in public relations, then you know how challenging it can be to create reports for clients. The most crucial things that clients want to measure are impact, reach, and metrics.
But what metrics can you easily generate for your PR reports?
It took me months to find a PR tool that could ease the process of creating client reports. I’m happy to announce that I’ve finally found the holy grail of PR reporting tools! Coverage Book is your right-hand man when it comes to measuring the impact of each media feature your clients receive.
It takes hours off your day and creates professional reports within minutes. This is my review of CoverageBook, I’ll show you its main features, pricing, and what it could do to improve your PR efforts. Let’s dive in!
How it Works
When you get a media feature for a client, it’s always essential that you can show the metrics related to each feature. Whether they got featured in videos, social media posts, or articles, there has to be a way to measure those results and report them effectively.
That’s where Coverage Book comes in…
Step 1:
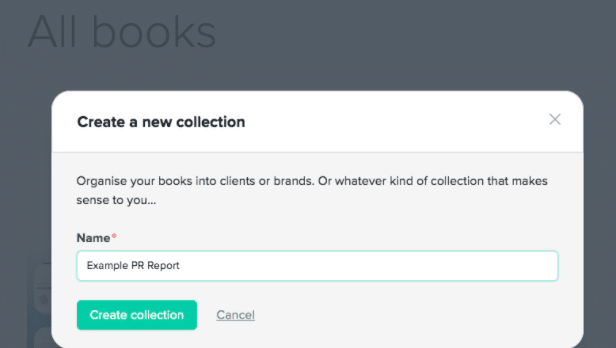
On your dashboard, you should find an option to “create a new collection.” Click on it and you can start a collection for a specific client’s media coverage.
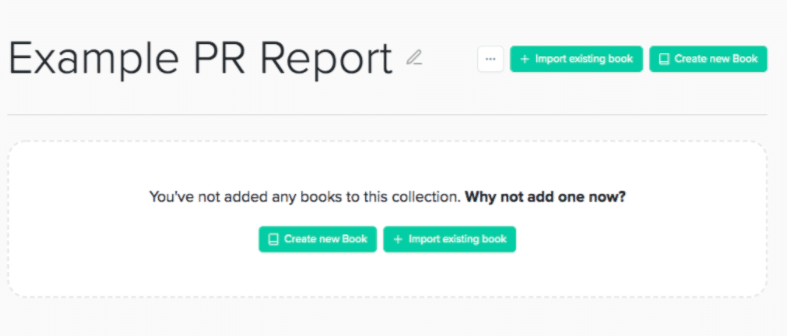
This is where you’ll collect all the media coverage the client has received so far and keep it all in one place. Then, you’ll be able to create what they call a “book” which has a table of contents and different sections to represent different kinds of media coverage.
Step 2:
You can connect a CSV file or spreadsheet that already has all the media coverage links listed, or you can do it manually. Personally, I prefer to do it manually, so I usually click on “create new book” so that I can include the media coverage pieces individually.
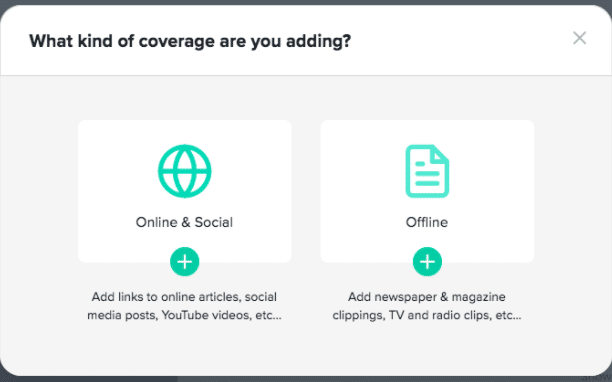
You have the option of including offline articles, or online articles and posts. It really depends on the type of PR that your client has gotten. At Pearl Lemon PR, we specialize in digital PR, so we mainly use the “online & social” option.
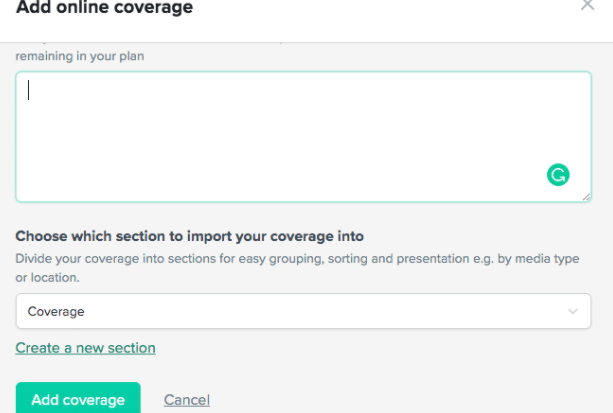
Step 3:
This is where you copy and paste all the URLs you want to add to the report. This is the fun part because all you have to do is paste that information here, and in a matter of minutes, you’ll get detailed metrics for each one!
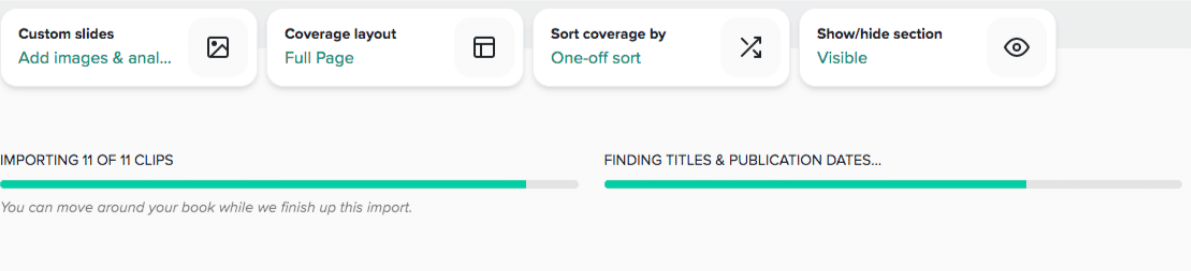
The system generates the data and then keeps it all in one place to choose which pieces of coverage you want to highlight.
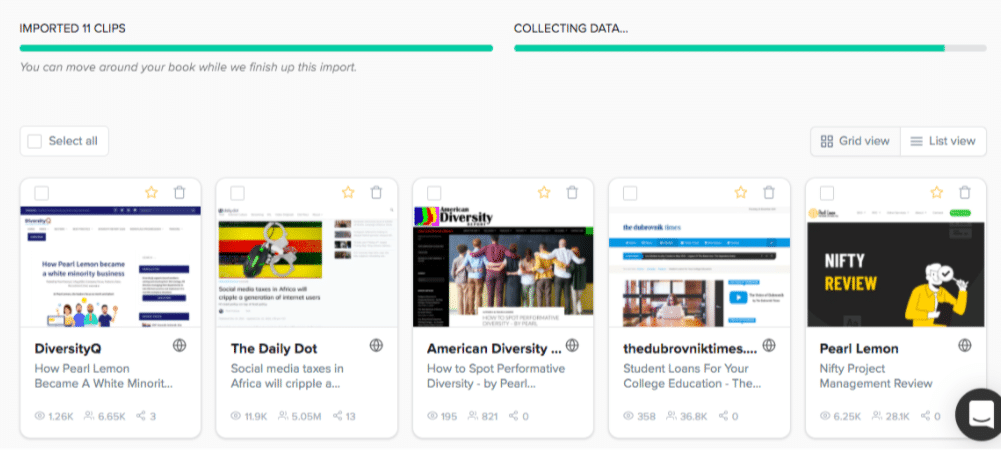
Step 4:
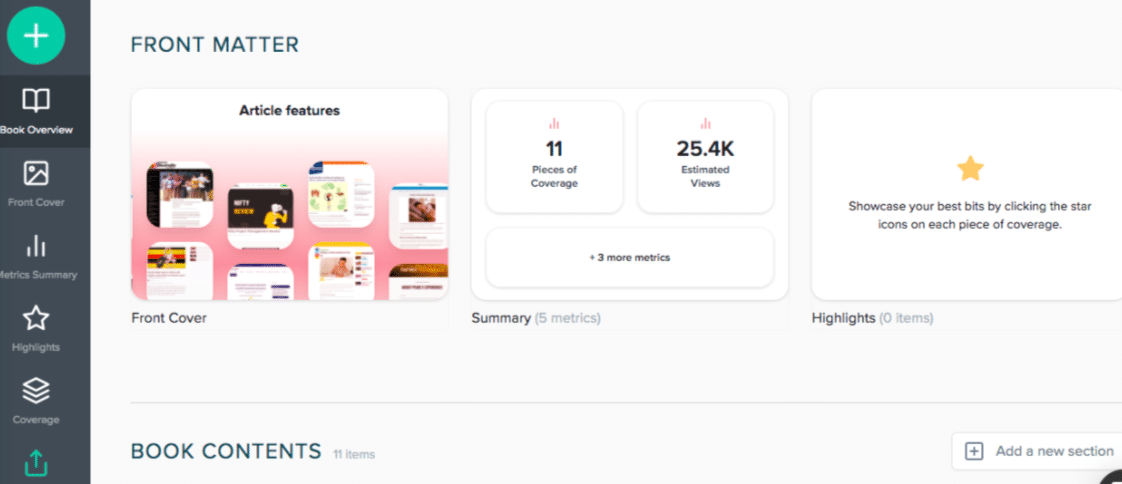
Here’s an example of what your dashboard could look like after the data is generated:
With this quick view of each article, you can add some to your list of “favorites” and continue to design the report. Here’s how I do it:
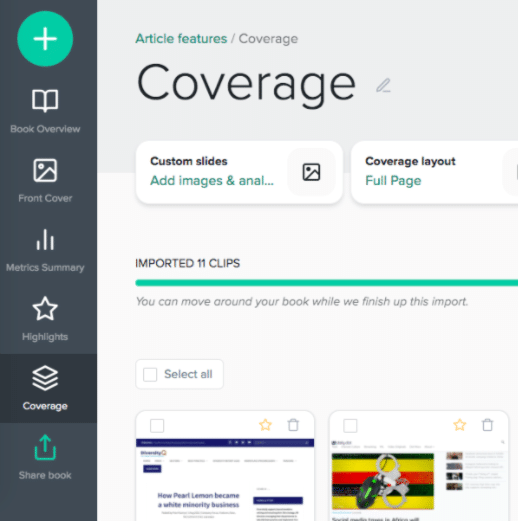
On the left-hand column, you’ll see different sections of the book that you can edit. You can also view the “book overview” to see what the whole report will look like.
This is where you can review the front cover’s design, summary, and highlights. You can also add new sections to the book as you see fit. Each element is fully customizable, which is pretty neat!
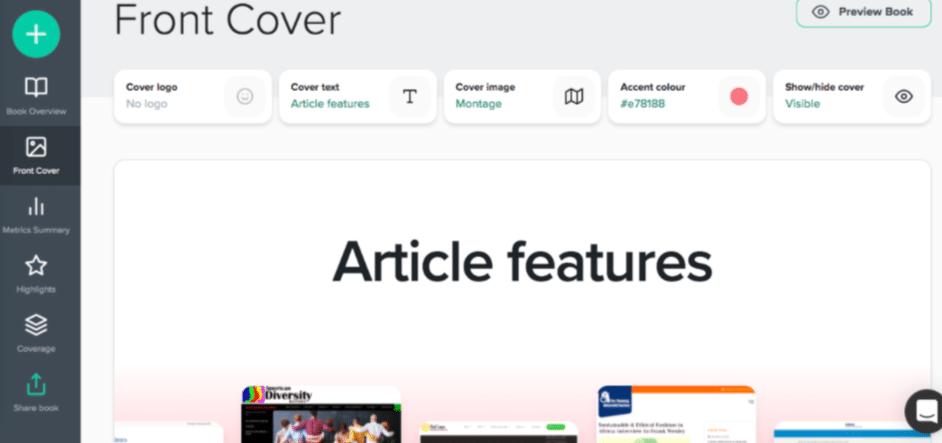
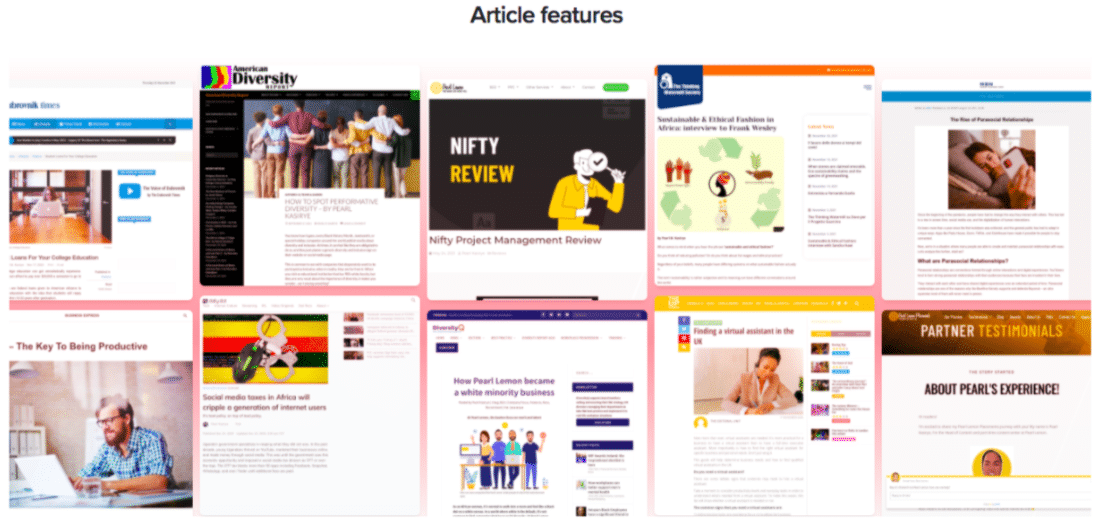
You can easily edit the front cover as well by using the colour scheme that suits your client’s brand, you can change the cover image as well. The default cover image for these PR reports is a montage of all the relevant pieces of media coverage. I think they look pretty cool, take a look:
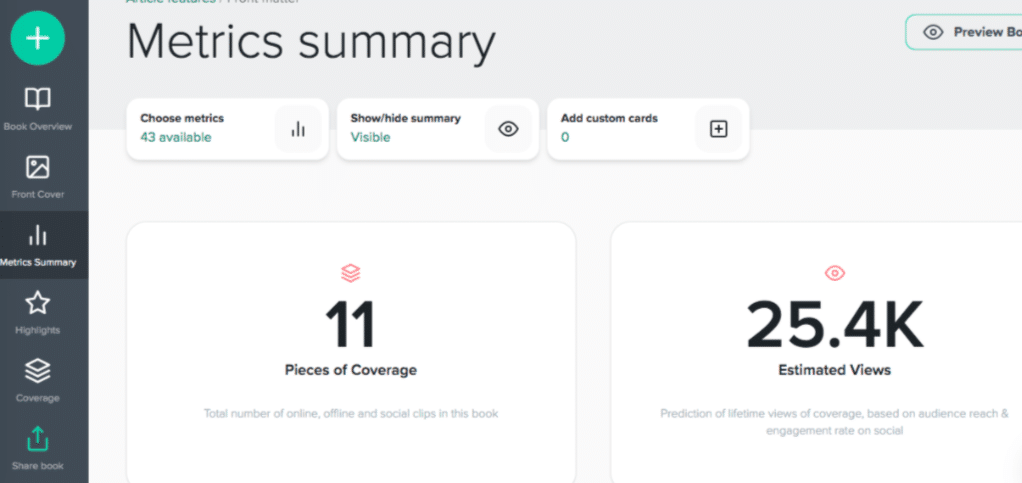
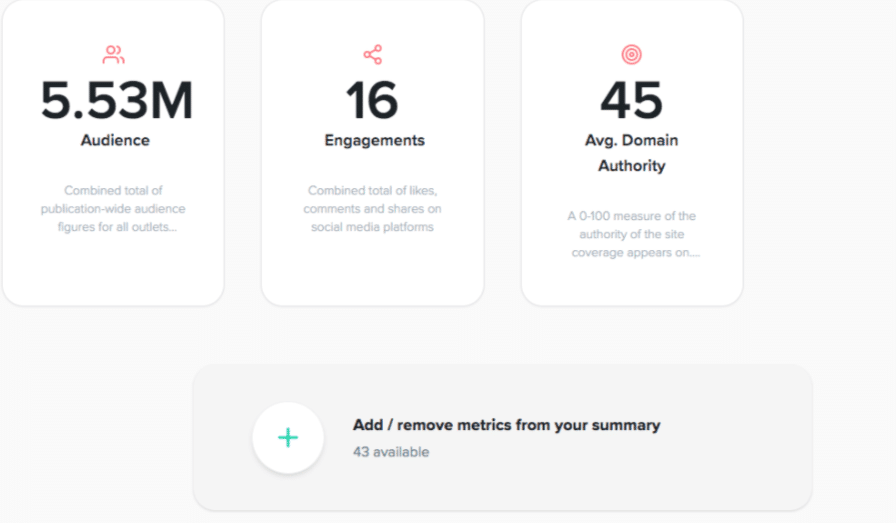
This would be used as the front page of the book and you’ll get to edit all the other sections of the PR report as well. The next section is the metrics summary that shows the top metrics for each piece.
Remember, this information was automatically generated, so it saves an incredible amount of time. You don’t have to keep trying to get metrics for pieces individually.
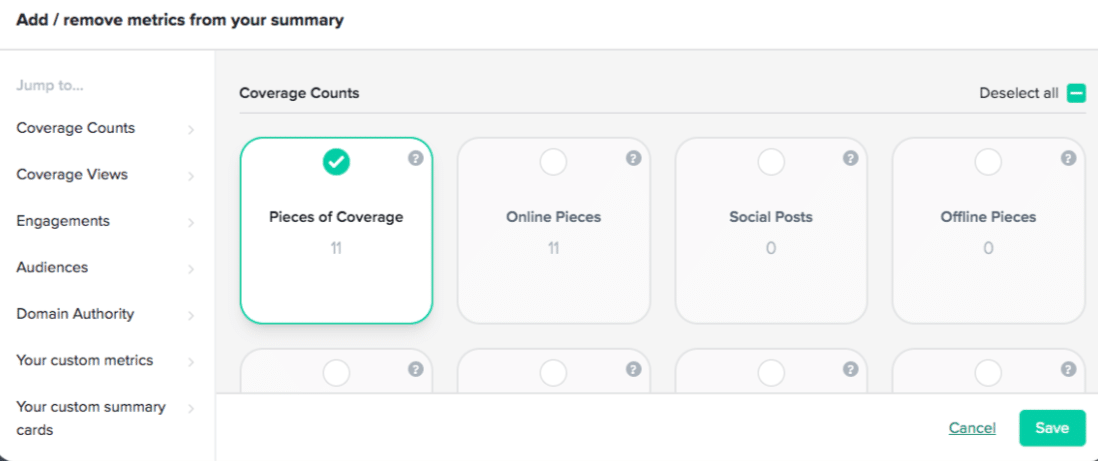
You also have the option of adding/removing different metrics from the report. There are some metrics that are more relevant for specific clients than others. So it’s up to you to choose which metrics you want to add to each individual report. Here are some of your options:
These metric options give you the opportunity to fully customize the report to suit your client’s PR needs. I’m sure you’re curious to see what the full PR report looks like in the end…here’s a link to the preview of this report I just created. This wasn’t for a real PR client, it’s just for your perusal!
Coverage Book Pricing
If you aren’t using Coverage Book yet, then it’s time to get yourself an account to scale up your PR efforts! Here’s some basic information about their pricing options.
$99: Bronze Payment Plan
Unlimited books (PR reports)
Unlimited clients and brands
Up to 5 users
Less than 100 pieces of media coverage reporting per month
$149: Bronze Plus Payment Plan
All of the Bronze features
Up to 300 pieces of media coverage reporting per month
$199: Silver Payment Plan
All of Bronze Plus features
Unlimited Users
Priority Support
Up to 1,000 pieces of media coverage reporting per month
$499: Gold Payment Plan
All of the Silver features
1-hour training session for your PR team
Up to 10,000 pieces of media coverage reporting per month
Think of the time and effort you’ll save by using a PR reporting tool like this! The metrics are automated for you, the reports are stunning and professional…this tool is really worth the money.
Final Verdict
I’ve used many different PR tools over the years, and only a few of them truly stand out. Coverage Book is one of them. It is such an excellent tool that also keeps updating its features regularly. If you value metrics, stunning reports, and keeping track of media coverage, then you should seriously consider getting an account with Coverage Book.
I rarely say this, but this tool gets 99.8% from me. If that doesn’t convince you to start using it…then I don’t know what will! Sign up for your CoverageBook account here.
Ready for More Exposure? Let’s Get Your Brand Noticed — Book Now!
Your brand is your story, and we make sure the world hears it. Don’t wait—book your PR consultation now and begin building your brand’s presence.